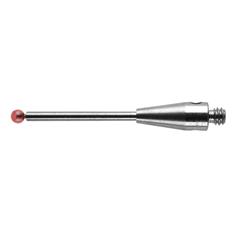
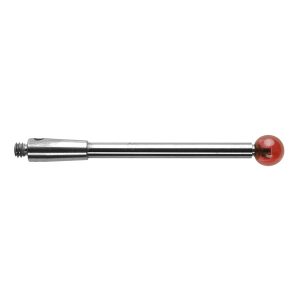
Probe Styli A-5003-4797
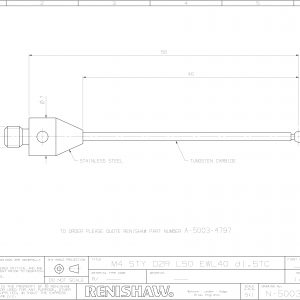
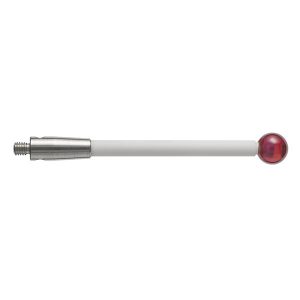
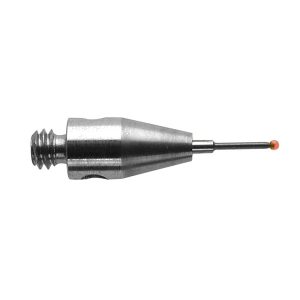
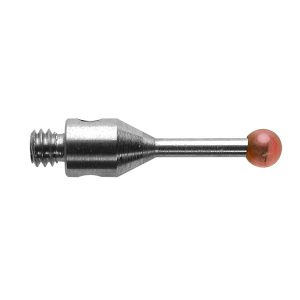
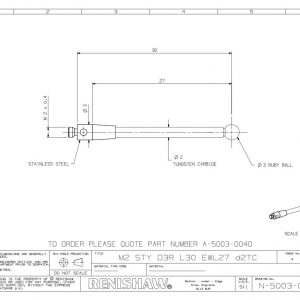
M4 Ø2 mm ruby ball, tungsten carbide stem, L 50 mm, EWL 40 mm
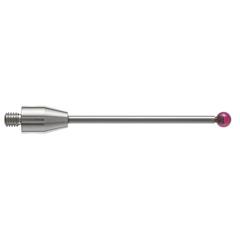
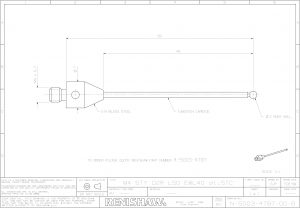

Straight styli are designed to inspect simple features where direct, unobstructed contact with a measured surface is possible. A tungsten carbide stem provides exceptional rigidity, particularly for styli with small ball and stem diameters. Ruby is regarded as the industry standard for stylus tips. It is one of the hardest materials available and suitable for most applications. Due to adhesive pickup, ruby tips are not recommended for scanning aluminium parts.
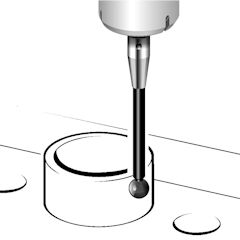
Accuracy at the point of contact
Probe Styli A-5003-4797
As industry has developed its requirement for increasingly diverse and complex manufactured parts, inspection systems have had to work hard to keep up. The use of co-ordinate measuring machines (CMMs) with probing systems and in-process inspection on machine tools are two of the solutions offered by Renishaw to help you maximise your productivity and maintain the highest quality. Successful gauging depends very much on the ability of the probe’s stylus to access a feature and then maintain accuracy at the point of contact. At Renishaw, we have used our expertise in probe and stylus design to develop a comprehensive range of CMM and machine tool styli to offer you the greatest possible precision. These notes explain the critical features of every stylus type, helping you to choose the right design for each inspection need.
Terminology

Overall length
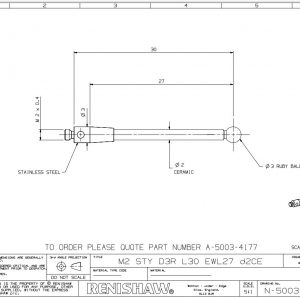
Renishaw uses a standard description of overall length, measuring from the rear mounting face of the stylus to the centre of the ball.
Effective working length (EWL)
This is measured from the centre of the ball to the point at which the stem will foul against the feature when measuring ‘normal’ to the part.
Choosing a stylus
To maintain accuracy at the point of contact we recommend that you:
Keep styli short
The more that a stylus bends or deflects, the lower the accuracy. Probing with the minimum stylus length for your application is the best option.
Keep the ball as large as possible
There are two reasons for this;
• firstly, it maximises your ball/stem clearance thereby reducing the chances for false triggers caused by ‘shanking out’ on the stylus stem.
• secondly, the larger ball reduces the effect of the surface finish of the component being inspected.
Để liên hệ mua hàng hãy gọi cho chúng tôi :
Chat trực tiếp với CSKH.
Liên hệ qua fanpage facebook.
Hotline: 094 373 5866 / 085 385 1223 / 0915 853 088
Để tìm hiểu các thiết bị đo lường, dịch vụ hiệu chuẩn thiết bị công ty quý khách hàng có thể truy cập Tại đây.
Công ty TNHH TOUSEI ENGINEERING VIET NAM
ĐC: Đội 2, thôn Xuân Bách, xã Quang Tiến, Sóc Sơn, Hà Nội
ĐT: 0943 735 866 / 085 385 1223 / 0915 853 088
Email: touseivn@gmail.com / sale3@toseivn.com / tse@toseivn.com
Website: www.tskvn.com.vn – www.toseivn.com – www.tosei.com.vn





Đánh giá
Chưa có đánh giá nào.